|
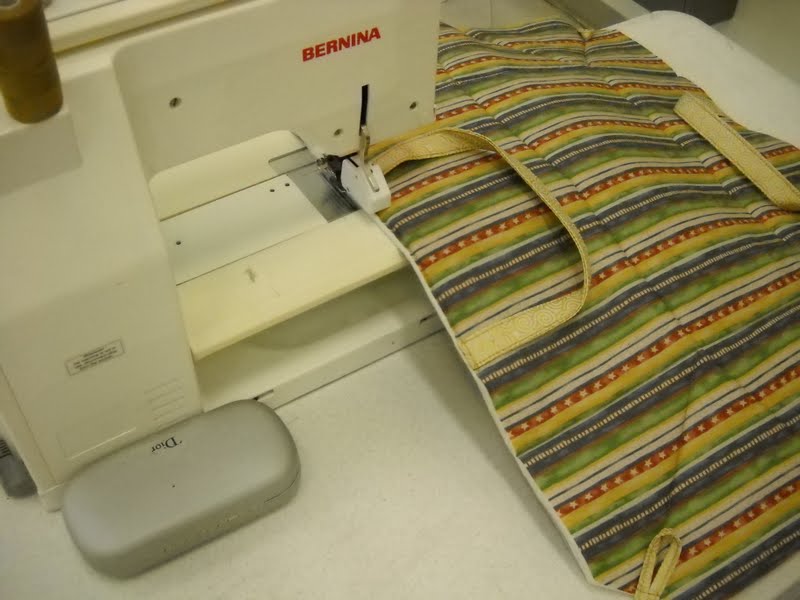
Lots and lots of Flying Geese units are needed for a redwork project that's in progress. And there are lots and lots of methods for piecing the units accurately. For the first batch, I tried the the method in which you make two units at once. But for the second batch I used the method we just practiced in Kim Diehl's class at quilt guild. Her instructions are for a stitch-and-flip method using squares and rectangles. She gave us several tips for sewing the units successfully. |
 |
One useful tip was to adhere this narrow tape to the bed of the machine to provide a stitching guide for sewing an accurate diagonal seam across each square. You can see in the photo above, that by watching the point of the square and keeping it aligned with the tape, the line will stitched in just the right place. She also suggested starting at the center point, as above, to keep the machine from "chewing up" those corners. Once sewn, you can flip the triangle back on itself and press, and then trim away the bottom two layers to reduce bulk. But just in case your brain goes on a mini vacation while sewing, and the unit is not accurate, she suggests just trimming out the middle layer of the triangles. Doing this preserves the cut rectangle and keeps the unit precise. That happened in the unit at the upper left in the top photo. You can see a sliver of the red rectangle peaking out where I stitched slightly off the true diagonal. I like this method because it keeps the unit from becoming distorted or wonky, as we quilters like to say. |
 |
All those Flying Geese units, plus many more, are going to border these three panels of redwork. At long last I completed all three panels. I'm glad I saved the one below for last because I knew it would skim right along and that the hard part was behind me. It may not look like a lot, but every branch, every stone, every fence post and snow line, every bit of horse tack is embroidered with two strands of floss. It seemed as if I'd never get there! |
And now that these are done, the remaining task is to sew them in rows with pieced blocks like those seen below, and then border the whole project with the geese. Oh yes, and quilt it (or get it quilted). So I'm still a long way from done, but it is a Christmas quilt and I have some time. The pattern is by Crab-apple Hill, and the quilt will finish to about 51" x 57". Meantime I'm celebrating completing the redwork, and I'll keep you posted on the finish line! |